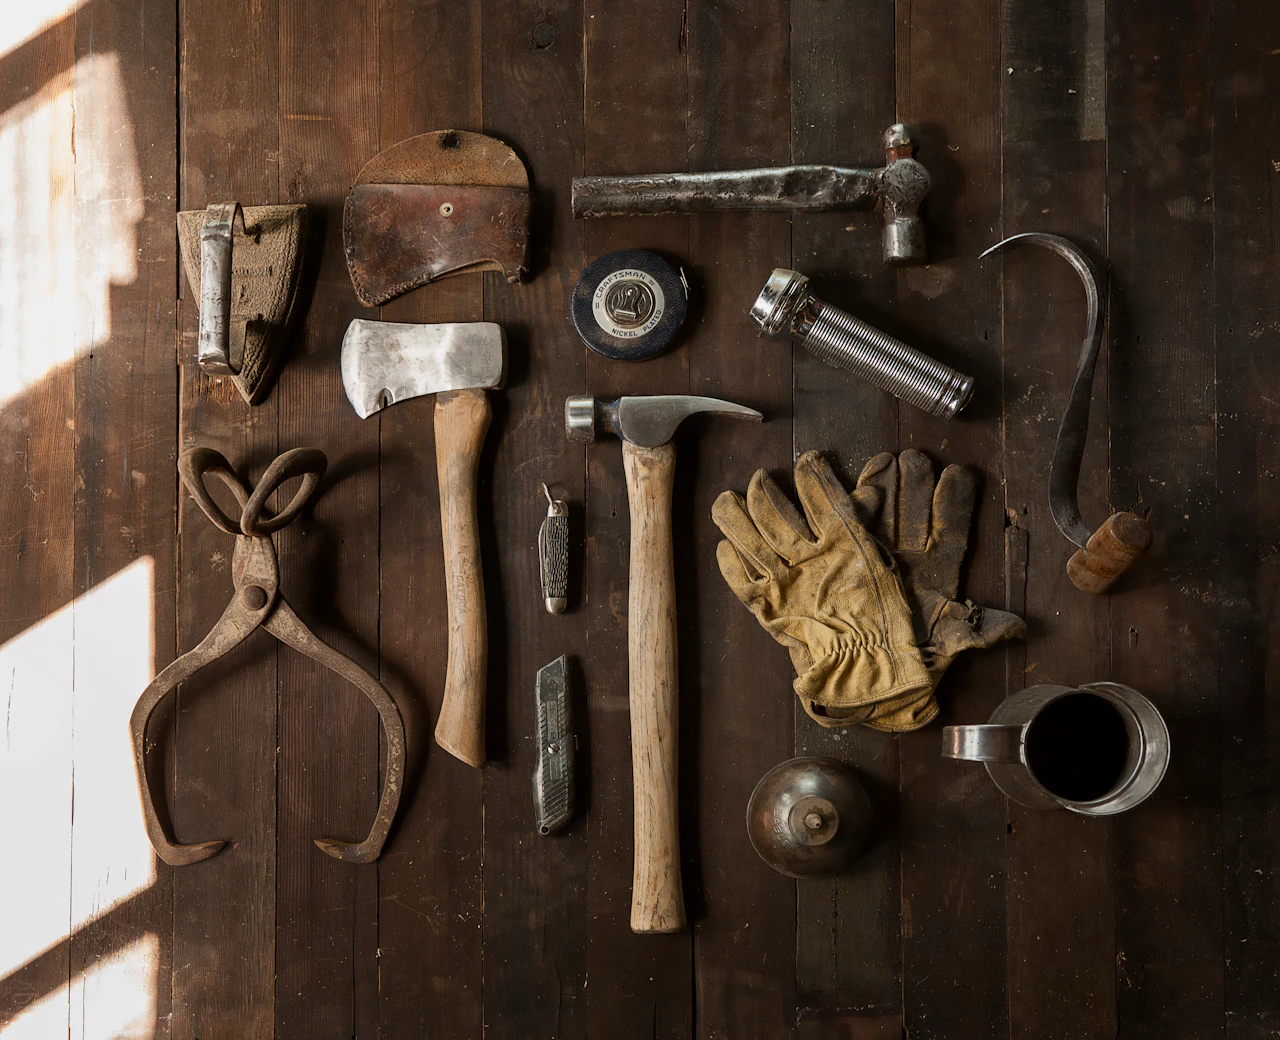
A good motorcycle tool kit is not one bag stuffed with random sockets. It is really two kits with two different jobs: a garage kit for planned maintenance and a compact on-bike kit for roadside problems, small adjustments, and basic inspections. This guide gives you a reusable motorcycle tool kit checklist you can build over time, whether you ride a scooter, commuter bike, touring machine, dual-sport, or weekend motorcycle. The goal is simple: keep the tools you will actually use, skip the heavy clutter, and review your setup whenever your bike, your routes, or your maintenance habits change.
Overview
The most useful way to think about tools is by scenario, not by brand or by the size of a toolbox. A garage tool kit supports routine jobs like changing oil, adjusting a chain, removing bodywork, checking a battery, or swapping brake pads. An on-bike tool kit supports quick tasks away from home: tightening a loose mirror, removing a battery cover, adjusting a lever, dealing with a minor fastener issue, or getting access to a fuse or terminal.
That distinction matters because many riders either overbuy for the garage or overload the bike with tools they will never use on the roadside. A practical setup is lighter than most beginner lists suggest. It is also more specific. The best motorcycle tool kit is the one that matches your machine’s actual fasteners, known weak points, and the type of riding you do.
Start with three principles:
- Match the tool kit to your motorcycle or scooter. Metric sizes are common, but not every bike uses the same mix of hex, Torx, Phillips, JIS-style, or Allen hardware.
- Build from the service tasks you perform. If you change your own oil and clean your chain, those jobs should shape your garage kit first.
- Test every tool at home before you trust it on the road. A compact wrench is only useful if it actually fits the axle adjuster, side panel fastener, or battery terminal on your bike.
If you are still learning your maintenance rhythm, it helps to keep a simple log. Each time you work on the bike, note which tools you used. After a few months, your real motorcycle garage tools list will become obvious.
Checklist by scenario
Use the lists below as a starting point, then trim or expand them based on your bike and riding style.
1) Core garage tool kit for most riders
This is the baseline setup for common home maintenance. You do not need a professional workshop to benefit from these tools.
- Socket set in the sizes your bike uses most with ratchet and short extension
- Combination wrenches in common sizes for mirrors, adjusters, battery terminals, and body fasteners
- Allen and hex keys for body panels, seat hardware, bar-end weights, and accessory mounts
- Screwdrivers, including small and medium flat-head and Phillips options
- Torque wrench for critical fasteners where overtightening can cause damage
- Pliers set, including needle-nose and slip-joint
- Side cutters for trimming zip ties and handling light electrical work
- Soft mallet for gentle persuasion without marking parts
- Magnetic tray or small parts tray to keep bolts and clips from disappearing
- Shop rags and nitrile gloves for cleaner work and easier cleanup
- Flashlight or headlamp for seeing into fairings, under seats, and around the engine
- Tire pressure gauge to support routine pressure checks
- Funnel and drain pan for fluid changes
For many owners, this core kit covers a surprising amount of useful work. It also supports the basics in a typical motorcycle maintenance guide: checking fasteners, removing covers, changing oil, inspecting a battery, or doing simple accessory installs.
2) Garage add-ons for regular DIY maintenance
If you handle more than the basics, add tools that make common jobs easier and safer rather than chasing specialty tools you may use once.
- Rear paddock stand or center stand support for chain service, wheel access, and stable parking during maintenance
- Front stand if your service tasks require front wheel or fork access
- Oil filter tool if your filter style needs one
- Chain cleaning brush and chain-safe cleaning supplies for chain-drive motorcycles
- Feeler gauges for inspection tasks where gap measurement matters
- Multimeter for battery checks, continuity checks, and basic electrical diagnosis
- Battery charger or maintainer for storage periods and battery care
- Thread locker in the appropriate strength for selected fasteners where specified
- Torque bit or specialty socket adapters if your bike uses less common fasteners
- Plastic trim tools for bikes and scooters with delicate bodywork
If your bike is chain-driven, your garage kit should support chain care from the start. For a deeper walkthrough, see Motorcycle Chain Cleaning and Lubrication Guide: Tools, Frequency, and Common Mistakes. If oil changes are part of your routine, pair your kit with the process details in Motorcycle Oil Change Guide by Engine Type: Conventional, Synthetic, Wet Clutch, and More.
3) Compact on-bike tool kit for day rides and commuting
This is where discipline matters. The right tools to carry on a motorcycle should solve small real-world problems without adding unnecessary weight or bulk.
- Bike-specific Allen keys or compact folding hex set
- Small screwdriver with interchangeable bits
- Mini pliers or multi-tool for light-duty use
- Few key sockets or wrenches in the exact sizes your bike uses for accessible fasteners
- Electrical tape for temporary wire or harness protection
- Zip ties for loose trim, light mounting issues, or cable management
- Spare fuse in the correct type and rating for your machine
- Compact flashlight
- Work gloves to keep your hands usable if you need to make a roadside fix
- Printed or saved note with key sizes for axle nuts, battery terminals, drain plugs, and body hardware
Many factory tool rolls are worth keeping as a base, especially if they include model-specific tools. But do not assume the stock kit is complete. Test it against real jobs at home.
4) Roadside additions for longer trips
For commuting near home, your compact kit may be enough. For weekend rides, touring, or rural routes, expand it carefully.
- Tire repair setup appropriate for your tire type
- Portable inflator or compact air source
- Battery jump solution sized appropriately for motorcycle use
- Spare bulbs or small critical consumables if your bike uses replaceable items you can access easily
- Small microfiber cloth for visor, lights, or quick cleanup
- Mini bottle of water for cleanup or emergency rinsing, if space allows
- Registration and emergency contact information stored in a dry pouch
Longer-distance riders often discover that motorcycle roadside tools are less about major repairs and more about self-sufficiency: enough equipment to diagnose a problem, make a safe temporary fix, or prepare the bike for towing or service.
5) Scooter-specific adjustments to the list
Scooters often need a slightly different approach. Under-seat storage may make carrying tools easier, but body panels can make access slower. Add or emphasize:
- Trim-safe tools for panel clips and covers
- Correct driver bits for fairing screws and access panels
- Compact tire pressure gauge because smaller wheels can be more sensitive to pressure changes
- Small rag or kneeling pad since scooter maintenance often involves lower bodywork and tighter spaces
If you are comparing machines for urban use, Scooter vs Motorcycle for City Commuting: License, Parking, Insurance, and Running Costs can help you think through the ownership side as well.
6) Seasonal garage checklist
Some tools matter more at certain times of year. Before storage season or a change in riding conditions, make sure your garage kit supports the jobs you are likely to do next.
- Battery maintainer access and leads in good condition
- Tire gauge easy to reach for more frequent pressure checks
- Cover storage bag or hook if you use an outdoor cover
- Cleaning supplies ready for a pre-storage wash
- Fuel-safe funnel and storage plan if your process requires it
For off-season prep, see How to Store a Motorcycle for Winter: Battery, Fuel, Tires, and Cover Checklist and Best Motorcycle Covers for Outdoor Storage: Features That Matter in Rain, Sun, and Snow.
What to double-check
Before you call your tool kit complete, verify the details that usually get missed.
- Fastener types on your exact bike: Do your side panels, controls, and battery connections use the tools you packed, or are you guessing?
- Critical sizes: Know the wrench or socket sizes for battery terminals, mirrors, adjusters, and common body fasteners.
- Torque-sensitive jobs: If you do your own maintenance, make sure your torque wrench range fits the fasteners you work on most often.
- Storage space: The tools to carry on a motorcycle should fit securely without damaging other items or shifting during a ride.
- Corrosion resistance: On-bike kits live in vibration, heat, and moisture. Check for rust, damaged cases, or stripped bits.
- Drive type: Chain, belt, and shaft bikes need different support tools and different maintenance habits. For context, see Chain vs Belt vs Shaft Drive: Long-Term Cost, Maintenance, and Ownership Tradeoffs.
- Part quality: Cheap tools that round off quickly can create more work than they save. The same general principle applies to replacement parts, where the right choice may be OEM or aftermarket depending on the job. See OEM vs Aftermarket Motorcycle Parts: When to Save Money and When Not To.
Also double-check your comfort level. A roadside tool should support tasks you are realistically prepared to do. If you would not remove bodywork in a parking lot or patch a problem at the shoulder, there is no need to carry a kit built around that idea.
Common mistakes
Most tool-kit problems come from buying too much, not too little. Here are the mistakes that show up again and again.
- Carrying a generic kit that does not fit the bike. Universal kits often look complete but miss the exact sizes that matter.
- Ignoring the owner’s manual and service needs. Your machine’s maintenance schedule should shape your garage tools list.
- Packing heavy tools for jobs you cannot do roadside. Leave large shop tools in the garage unless you have a specific reason to carry them.
- Skipping a torque wrench for sensitive work. This is one of the easiest ways to damage threads, covers, or clamps.
- Forgetting basic consumables. A few zip ties, spare fuses, gloves, and tape often solve more problems than an extra wrench.
- Not practicing with the kit at home. The first time you use your on-bike tool kit should not be on the roadside.
- Letting the kit drift out of date. New accessories, luggage racks, hand guards, windscreens, and phone mounts often add different hardware.
Another common mistake is trying to use tools as a substitute for inspection. A better habit is to catch problems before they become roadside problems. Tire pressure checks, chain inspection, battery attention, and fastener checks do more for reliability than carrying a giant bag of tools. For tire-related buying and fit questions, Motorcycle Tire Size Guide: How to Read Sidewalls and Buy the Right Replacement is a useful companion article.
And if a job goes beyond your comfort level, that is not a failure of preparation. It is a sign to book help. If you need a reliable shop, How to Find a Good Motorcycle Mechanic Near You: Questions to Ask Before You Book can help you screen local service options.
When to revisit
Your motorcycle tool kit checklist should not be a one-time project. Revisit it whenever the bike or your riding pattern changes, and use the review to remove dead weight as well as fill gaps.
Good times to update your kit include:
- Before a new riding season so your garage and on-bike tools match current maintenance needs
- Before a longer trip especially if you will be farther from service support than usual
- After buying a different motorcycle or scooter because the fasteners, drive system, and access points may all change
- After adding accessories such as luggage, crash protection, windscreens, or navigation mounts
- After doing a repair since real maintenance work reveals what tools you lacked or never used
- Before winter storage or a period of low use when battery care and protective equipment become more important
A simple action plan works well:
- Lay out your garage tools and your on-bike kit separately.
- Open your owner’s manual and review the next maintenance items.
- Check which fastener sizes and tool types your bike actually uses.
- Remove duplicate or unused items from the on-bike kit.
- Add only the tools needed for likely roadside adjustments and your next scheduled home maintenance tasks.
- Test-pack the on-bike kit so it stores securely and stays dry.
- Use the kit on one planned maintenance job at home before you consider it finished.
If you want this checklist to stay useful, treat it like your riding gear: not static, but adjusted over time. The best motorcycle tool kit is rarely the biggest one. It is the one that makes routine work easier in the garage, keeps minor problems manageable on the road, and evolves along with the machine you ride.


